Are you about to hit the pre-drywall stage on a new build in St. Augustine or St. Johns County? This is the moment when everything behind the walls gets locked in place. You want it right before insulation and drywall make changes harder and more expensive. In this guide, you’ll learn exactly what to check, when to schedule it around county inspections, and how to protect your interests, especially if you’re buying from afar. Let’s dive in.
What a pre-drywall inspection covers
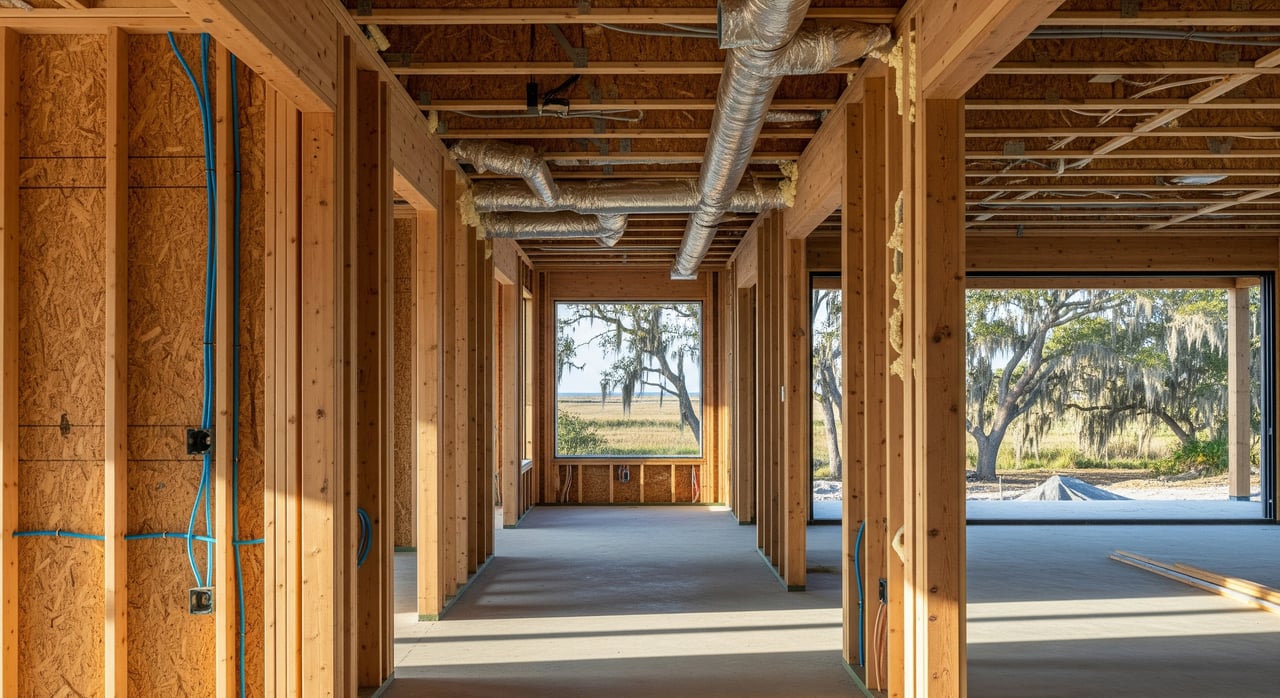
A pre-drywall inspection verifies that framing, weatherproofing, and rough electrical, plumbing, and HVAC were installed correctly before they’re concealed. You’re looking for safety and code issues that must be fixed now, plus workmanship items that could cause headaches later. Your inspector will document findings with photos and notes so the builder can address them and so you have a record for warranty claims.
In St. Johns County, county inspectors handle code compliance for rough plumbing, electrical, mechanical, and framing. Your independent pre-drywall inspection is complementary. It focuses on quality, long-term durability, and items that might be outside minimum code.
How it fits the local timeline
In Shearwater and across St. Johns County, builders complete framing and rough-ins, then schedule county inspections. The best window for your pre-drywall inspection is right after those county rough-in approvals but before insulation or drywall starts. That window is often tight, sometimes just a few days.
Coordinate early with the builder to get visibility on dates. If you’re remote, consider time zone differences and appoint a representative to attend on your behalf.
Practical scheduling steps
- Ask the builder for the rough-in schedule and planned county inspection dates as soon as framing begins.
- Book your inspector for the same day or immediately after the county approvals post.
- Confirm access for your pre-drywall inspection in your contract, with a defined window to correct issues before drywall.
- Request documentation of passed county inspections and any pending items so your inspector can align checks.
Trade-by-trade checklist
Use this checklist to prepare, prioritize, and build your punch list. Your inspector should provide a detailed report with photos.
Structure and site
- Wall plates and sills fastened and aligned; consistent stud spacing.
- Exterior sheathing fastener spacing and seam treatment per manufacturer.
- Roof sheathing attachment follows plans; roof openings framed correctly.
- Site drainage slopes away from the foundation; downspouts direct water; no standing water.
- Termite protection method confirmed and documented; check for incomplete treatment.
Framing and carpentry
- Load-bearing members and headers correct and properly supported.
- Joist and truss connections, bracing, and hurricane/hold-down connectors per plans.
- Blocking for cabinets, grab bars, handrails, and fixtures at correct locations.
- Stair framing geometry and guard/handrail backing in place.
Roof and attic
- Roof decking secured; penetrations flashed.
- Attic ventilation and eave baffles installed.
- Fireblocking at top plates and intersections per code.
- Attic access framed; insulation chases prepared.
Windows, doors, and flashing
- Flashing details correct, including sill pans and head flashing.
- Proper fastener patterns and sealed joints.
- Rough openings sized correctly; blocking for exterior finishes present.
- Water-resistive barrier continuous, including transitions and taped seams.
Electrical rough-in
- Box locations, spacing, and box depth set for device plates.
- Conductor routing supported and stapled; neutrals and grounds where required.
- Service conductors and main panel location per plan; grounding electrode system visible or documented.
- Smoke and CO detector wiring placed and labeled to plan.
Plumbing rough-in
- Drain, waste, and vent slopes correct; pipes supported and strapped.
- Water lines secured; accessible shutoffs for covered fixtures.
- Venting, traps, and main cleanouts in correct locations.
- Pressure test performed or documented; request proof if not visible onsite.
HVAC rough-in
- Duct runs and sizes match plans; supports installed.
- Seams sealed with mastic or approved tape on supply and return.
- Return and supply locations framed and blocked correctly.
- Condensate drain slope, trap, and termination checked; access for future service.
Insulation prep and air sealing
- Soffit baffles and insulation chases ready and sealed.
- Vapor and air barrier strategy confirmed for Florida’s climate.
- Air sealing at top plates, penetrations, and sill plates noted for completion.
Fire and life safety
- Fireblocking and draftstopping installed at vertical and horizontal penetrations.
- Fire sprinkler provisions visible, if included in your plan.
- Bedroom egress window openings sized and unobstructed.
Prep for finishes
- Blocking installed for heavy items like kitchen cabinets, range hoods, and TV mounts.
- Subfloor flatness acceptable; damage documented.
- Exterior outlet and hose bib locations correct; site utility conduits placed.
Florida-specific priorities
Florida’s climate and code expectations make a few items especially important:
- Termite protection: Confirm the specified termite protection method and get documentation. Note any treatment areas that appear incomplete.
- Water management: Check WRB continuity, window and door flashing, and roof decking attachment. Coastal rain and wind make water intrusion prevention critical.
- Wind and uplift: Verify hurricane straps, hold-downs, and connectors are installed per plan at trusses and critical framing points.
What to document in photos
You want a clear record of what’s behind your walls. Ask your inspector to capture:
- Wide shots of each room and system, plus closeups of questionable areas.
- Labels, nailing patterns, strap locations, and stamped engineered members.
- Termite treatment documentation and posted permits or county sign-offs, if available.
Red flags that need escalation
If you see any of the following, press pause before drywall:
- Altered or missing engineered components, notched beams, or absent specified hangers.
- Electrical boxes set too deep, missing neutrals or grounds, or exposed high-voltage conductors.
- Plumbing without proper slope or without pressure/leak test documentation.
- Roof decking or window flashing that looks unsecured or poorly sealed.
- Signs that termite protection was not installed per contract or code.
- Builder declines access for a buyer-paid pre-drywall inspection or rejects a documented punch list.
For remote buyers: protect your build
If you’re buying from out of state, a construction-fluent agent can be your eyes on site. Your agent should coordinate the schedule with the builder, attend inspections, and make sure findings are documented clearly. They can translate technical items into a prioritized punch list, present it to the builder, and negotiate remediation timelines or re-inspections.
Practical steps for remote buyers:
- Hire a local inspector with new-construction experience and provide them with plans and specs early.
- Require a detailed report with annotated photos, measurements, and clear recommendations.
- Ask the builder for a live video walkthrough if you cannot attend, but still conduct a third-party pre-drywall inspection.
- Negotiate written commitments on access, timing, and repair verification in the contract.
How to prioritize repairs
- Fix safety, structural, and code violations before drywall, without exception.
- Schedule workmanship or cosmetic fixes before final finishes, with verification milestones.
- Bring in third-party specialists, such as a structural engineer or MEP specialist, for disputed issues.
Builder documents to request
Gather these items before your inspection window:
- Permit placards, rough-in inspection dates, and pass/fail results with stamps if available.
- Manufacturer installation instructions for windows, roofing, or any non-standard systems.
- Documentation of termite protection and any treatment certificates.
- A list of planned blocking locations and all mechanical rough-in locations.
Licensing and compliance checks
In Florida, inspectors and specialty trades are regulated at the state level. Verify credentials and standing for any professional you hire. County inspectors, independent home inspectors, and specialty inspectors should hold applicable licenses and certifications. Credentials from recognized industry groups and proven new-construction experience are helpful indicators of competence.
Also review your purchase contract for inspection contingencies, access provisions, timing windows, and how punch lists will be handled. Many builders include a one-year workmanship warranty and longer structural coverage, but terms vary. The pre-drywall phase is often the best time to catch and correct latent defects.
Next steps
A smart pre-drywall inspection helps you avoid hidden problems, capture a permanent photo record of your build, and keep the project on track. In St. Johns County, tight timelines and fast-moving builder schedules make coordination essential. If you want help lining up the right inspector, attending onsite on your behalf, and negotiating fixes with the builder, connect with a local, construction-fluent advisor. Reach out to Laura Worrell to plan your pre-drywall strategy.
FAQs
What is a pre-drywall inspection in St. Johns County?
- It’s an independent review of framing, weatherproofing, and rough mechanical, electrical, and plumbing systems after county rough-ins pass but before insulation and drywall are installed.
When should I schedule the inspection?
- Aim for immediately after county rough-in approvals and before insulation begins; this window is often only a few days.
Do I still need this if the county already inspected?
- Yes. County inspections check minimum code compliance; your inspection adds a quality and risk-reduction layer focused on long-term performance and workmanship.
What problems must be fixed before drywall?
- Any safety, structural, or code-related defects, plus items that will be inaccessible later such as hidden plumbing slopes, missing blocking, and incorrect flashing.
How do remote buyers handle this phase?
- Hire a local inspector with new-construction experience, have an agent attend onsite, require a photo-rich report, and include access and remediation timelines in your contract.
What Florida-specific items should I confirm?
- Verify termite protection documentation, continuous water-resistive barriers with correct flashing, and proper installation of hurricane connectors and roof decking attachments.